How to Use Premium Effects and Filters in CapCut Mod APK (2026 Guide)
In 2026, CapCut is making mobile video editing with Premium Effects and Filters. A lot of content creators desire their videos to appear good and cinematic. Basic editing is not enough anymore. The audience anticipates quality pictures that have a seamless transition and pleasing colors.
Your video becomes professional when you apply Premium Effects and Filters in CapCut. Colors look balanced. Lighting feels dramatic. Mood becomes stronger. Honestly, small changes in effects can make big difference in engagement.
Well, trends move fast. Now, the cinematic filters and creative overlays are available in reels, Shorts, and Tik Tok videos. When you know how to operate the high-quality tools, your content may become outstanding in no time.
What Are Premium Effects and Filters in CapCut?
Premium Effects and Filters in CapCut are advanced visual tools. These are cinematic LUTs, glitch effects, blur effects, light leaks, and vintage styles. These equipment enhance color, texture and mood.
Filters mainly adjust color tone. Effects add motion or visual style. For example, cinematic filter gives warm movie tone. Glitch effect creates digital distortion.
In my experience, before and after difference is clear. A normal clip looks flat. After adding subtle premium filter, it looks alive and dramatic.
Why Creators Use Premium Effects and Filters in CapCut Mod APK
Many creators use CapCut Mod APK to access unlocked premium features. This allows full use of advanced effects without limitation.
CapCut 2026 also improved effect quality and performance. Rendering feels smoother now. Visual transitions look more natural.
Honestly, premium tools save time. Instead of adjusting many settings manually, one filter can create strong impact quickly. But balance is important.
How to Use Premium Effects and Filters in CapCut Mod APK Step by Step
CapCut has Premium Effects and Filters that are simple to operate provided one follows simple steps.
To start with, launch CapCut and drag your video.
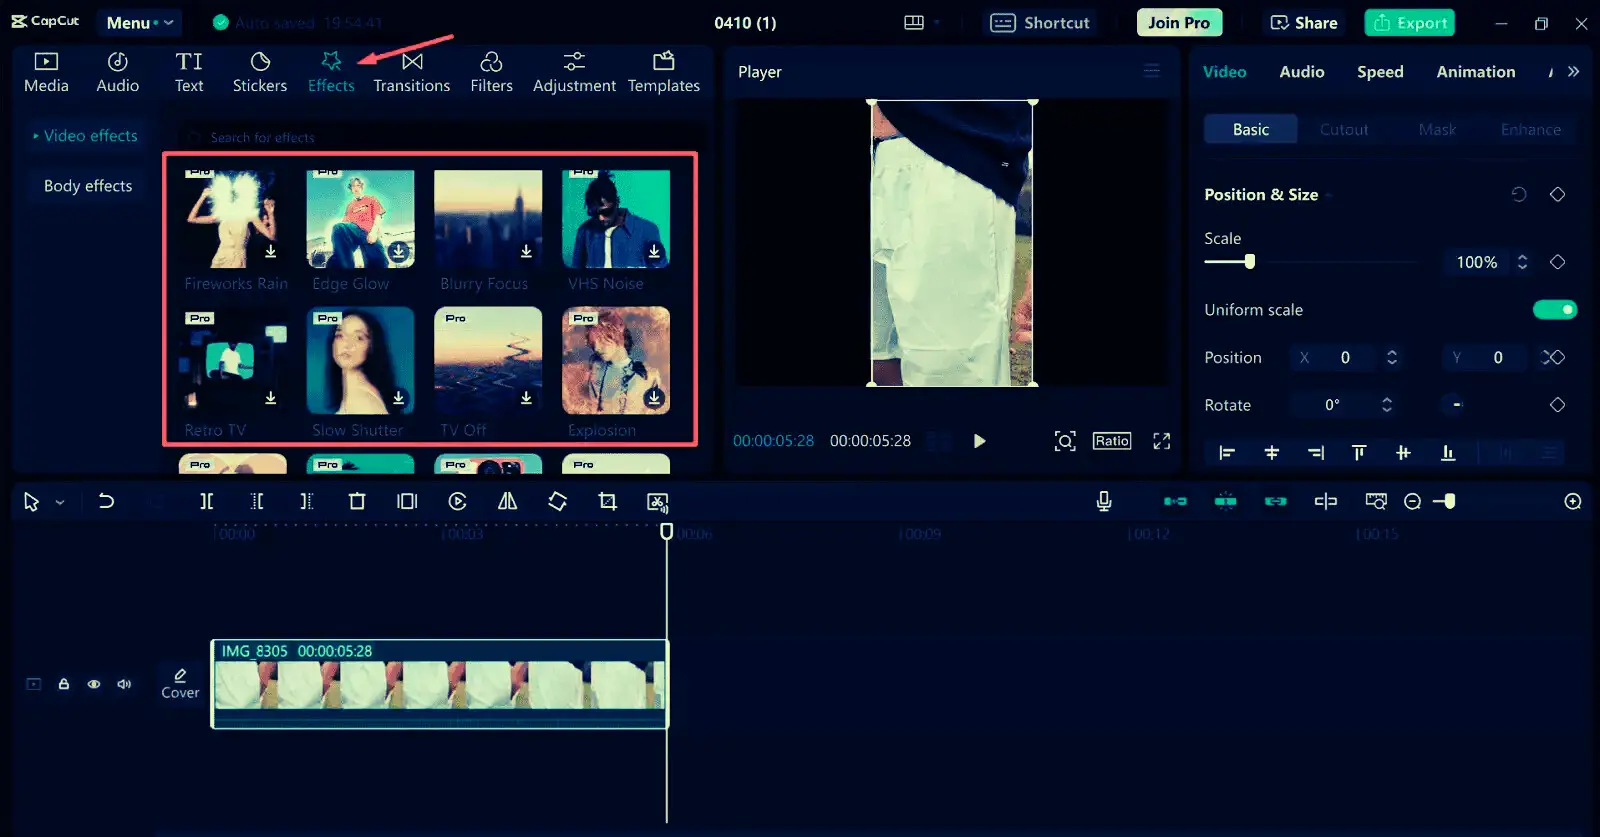
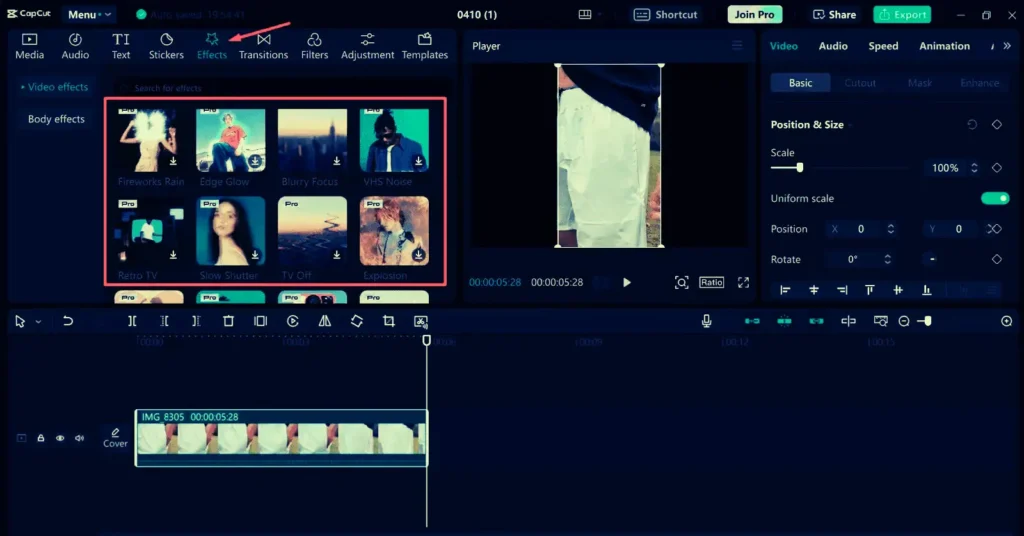
Second, tap on Effects tab. Browse through premium section.
Choose effect that matches your video theme. Apply it and adjust intensity slider. Keep it around 40 to 60 percent for natural look.
Now go to Filters tab. Select cinematic or aesthetic filter. Again, adjust intensity.
Preview video carefully before exporting.
Small adjustments work best.
Premium Effects and Filters in CapCut for Cinematic Look
Premium Effects and Filters in CapCut are powerful for cinematic editing. Use warm cinematic filter for travel videos. Use cool tone filter for dramatic scenes.
You can combine blur effect with light glow to create soft background. Adjust brightness and contrast for depth.
Some creators explore CapCut Pro Download for extra filter packs. But honestly, even basic premium tools can give strong result.
Always match filter with story. That makes video feel natural.
Common Mistakes While Using Premium Effects
One mistake is overusing effects. Too much glow or blur makes video look unrealistic.
Another mistake is stacking many filters together. This creates strange colors.
Keep intensity low. Around half strength is usually enough.
Check skin tone carefully. It should look natural, not orange or red.
Subtle editing looks professional.
Pro Tips for Professional Editing in 2026
Always correct exposure before adding filter. Fix brightness first.
Use before and after preview. This helps you see difference clearly.
Match effect style with music mood. Fast music suits glitch effects. Soft music suits cinematic filters.
Preview video on full screen before final export.
Honestly, patience creates better results than rushing.
Free vs Premium Effects Comparison
Free effects are good for beginners. But premium tools offer better color depth and smooth animation.
Premium filters often have better balance and less harsh tones.
For serious content creators, premium tools are helpful. Novices can however begin with free tools and upgrade in future.
Skill matters more than tool.
Conclusion
CapCut includes Premium Effects and Filters that provide the appearance of your videos with the cinematic and professional look. They save time and improve visual quality.
These tools can be accessed and are easy to use in CapCut Mod APK and CapCut 2026. Balanced adjustments will not go astray.
Do not overload your video with heavy effects. Keep editing clean and subtle.
Start experimenting today. After learning the Premium Effects and Filters in CapCut, your videos would be more refined and interesting to watch.
FAQs
1. What are Premium Effects and Filters in CapCut?
They are high quality visual aids that enhance color, light and form of your videos.
2. Are premium effects better than free ones?
High quality and much smoother images are usually offered in premium effects.
3. How to access premium filters?
You can access them inside Effects and Filters tab in supported versions.
4. Is CapCut Mod APK safe for premium features?
Update and security are always safe with official version.
5. Do I need CapCut Pro Download?
Not always. Basic premium tools are often enough for most creators.
6. Can beginners use premium effects easily?
Yes, beginners can apply filters and adjust intensity easily.
7. Do effects reduce video quality?
No, but overusing effects can make video look unnatural.
8. What is best filter for cinematic look?
Warm tone cinematic filter with soft contrast works well.
9. How to avoid over editing?
Keep effect intensity low and preview before exporting.
10. Are premium filters worth it in 2026?
Yes, in case you desire professional and trendy video outcomes.